Latest Posts
-
What is the Strongest Portable Car Vacuum?
Incredible suction power separates the best portable car vacuums from the rest, but the real performance secrets go far deeper than the numbers suggest.
-

Are Car Interior Led Lights Illegal?
Here’s what you need to know about car interior LED lights before your next drive—the law might surprise you.
-

Best Car Roof Rack Brands
Which roof rack brands truly hold up under pressure — and which ones fail when it matters most?
-
How to Choose Car Seat Cover Material?
Navigating car seat cover materials like polyester, leather, and neoprene can be overwhelming — discover which option best suits your needs.
-
How to Stop Car Seat Cover From Sliding?
Get the proven fixes for sliding car seat covers that drivers swear by – but only one method works for your specific situation.
-
How to Clean Car Seat Covers?
Achieve spotless car seat covers with expert cleaning techniques that tackle every material type, but the method you choose could make or break your seats.
-
How Much Is a Portable Car Vacuum Cleaner?
Browse portable car vacuum prices ranging from $34.99 to $260.99, but which features truly justify the cost?
-
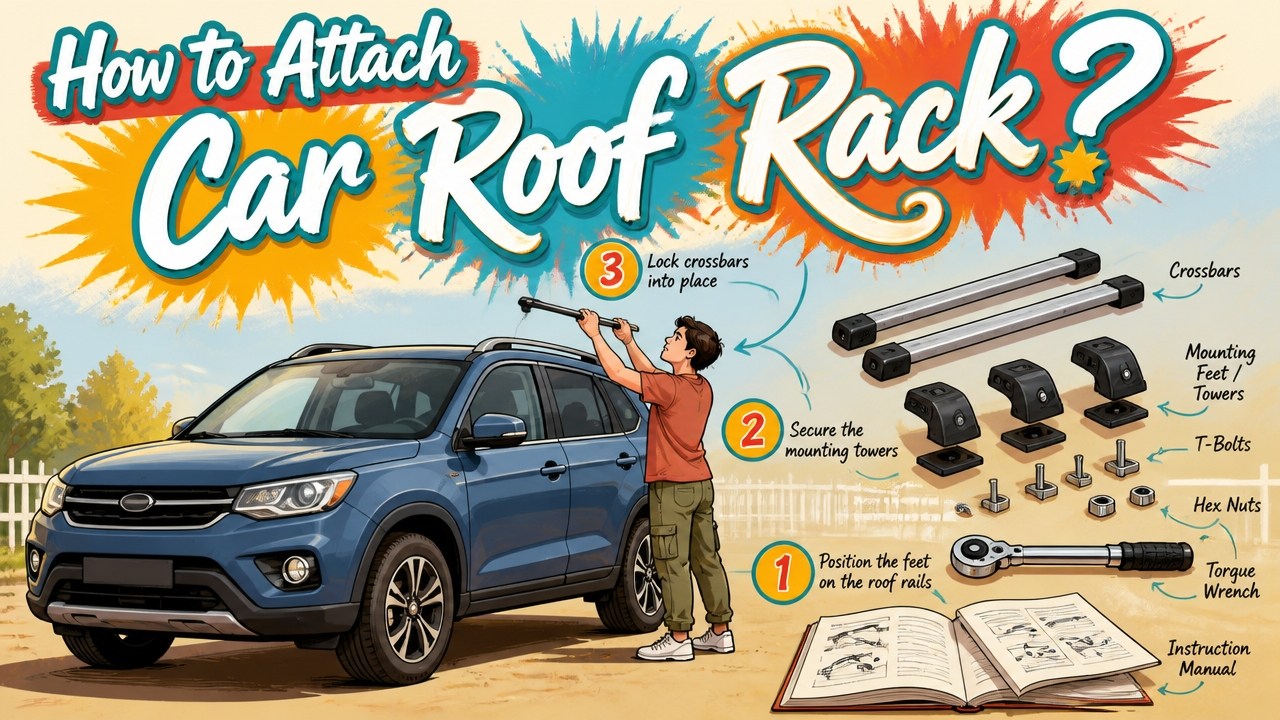
How to Attach Car Roof Rack?
Just one wrong move during roof rack installation can send your cargo flying at highway speeds – here’s how to get it right.
-
Are Bumper Guards Worth It?
Keep reading to discover whether bumper guards truly protect your vehicle or secretly create more problems than they solve.
-
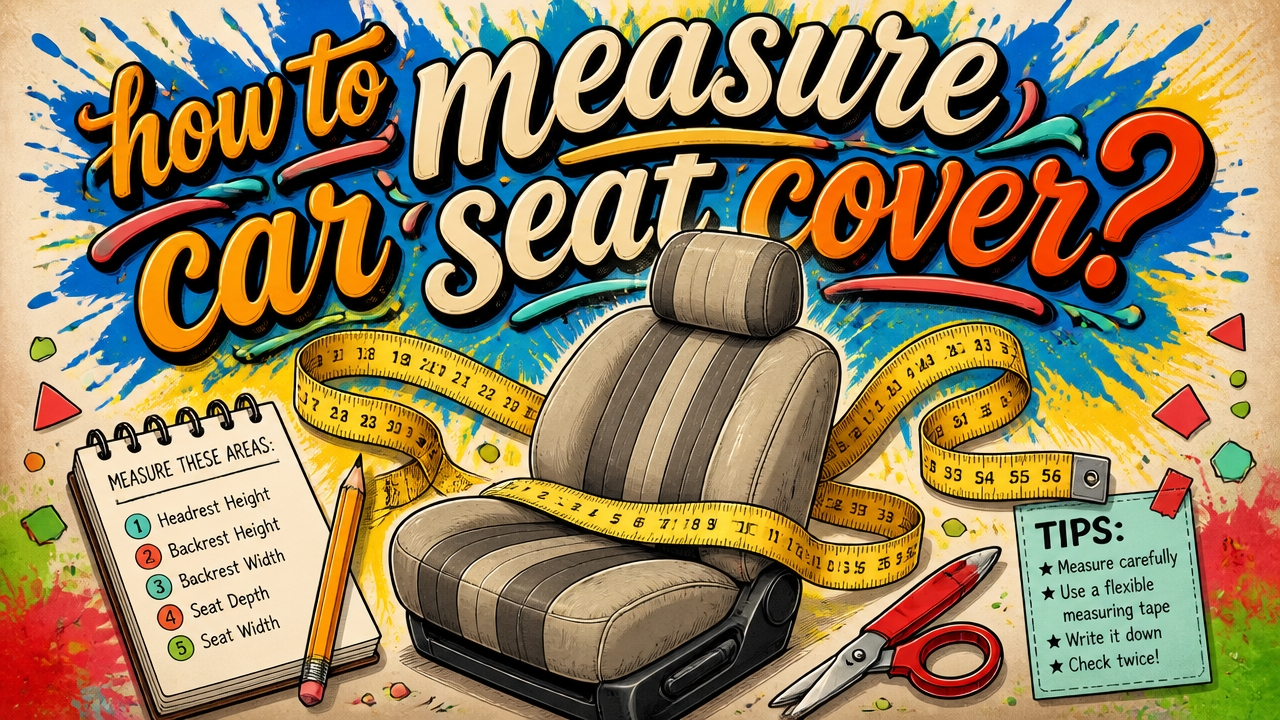
How to Measure Car Seat Cover?
Before buying car seat covers, mastering precise measurement techniques ensures a perfect fit—discover the exact steps professionals use.
-
How to Keep Car Floor Mats From Sliding?
Prevent dangerous mat sliding with these proven techniques that could save your life — but only if you choose the right method for your vehicle.
-
How to Clean Car Floor Mat?
Keep your car floor mats spotless with proven cleaning techniques that tackle stubborn dirt, bacteria, and odors before they permanently damage your vehicle’s interior.
-

Best Car Jump Starter Brands
Here are the car jump starter brands that consistently outperform the rest — but only a few truly deliver when it matters most.
-

Best Car Floor Mat Brands
Wondering which car floor mat brand truly protects your vehicle best? The answer might surprise you.
-
How to Clean and Dry a Car Cover?
Secrets to properly cleaning and drying your car cover without damaging it could mean the difference between lasting protection and costly replacement.
-

Are Car Jump Starters Safe?
These powerful devices can save you in a pinch, but hidden risks lurk beneath the surface that every driver must know.
-
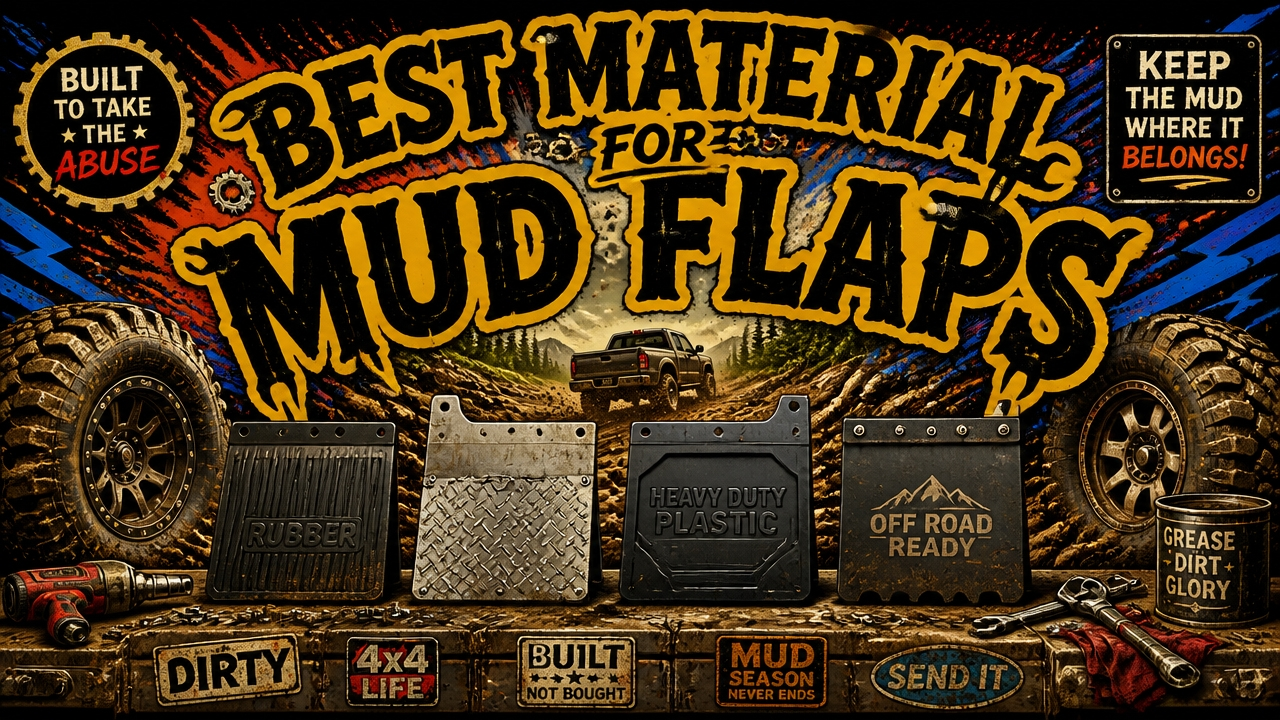
Best Material for Mud Flaps
Choosing the best mud flap material depends on factors most fleet operators overlook, and the differences could cost you.
-
How to Install a Car Phone Mount?
Unlock the secrets to a perfectly secure car phone mount installation — one mistake could cost you more than you think.
-

Best Spot for Car Phone Mount
Just when you think you’ve found the perfect car phone mount spot, these surprising placement secrets will completely change how you drive.
-

How Car Jump Starter Works?
Discover how car jump starters resurrect dead batteries using powerful current surges—but the real science behind peak amps will surprise you.
-

Do Car Door Edge Guards Work?
Hundreds of drivers swear by car door edge guards, but do they actually work or are they just an expensive myth worth investigating?
-

Best Material for Car Covers
Not all car cover materials protect equally – discover which one truly shields your vehicle before you make a costly mistake.
-
How to Install Car Door Edge Guards?
Just one misstep during car door edge guard installation can ruin everything – discover the precise steps that guarantee a flawless, lasting result.
-

Best Brand for Car Covers
Get the inside scoop on the best car cover brands before you waste money on the wrong one.
-

How Much Car Seat Cover Cost?
Car seat cover costs range from budget-friendly to surprisingly expensive, and the reasons behind the price differences will change how you shop forever.
-

Best Car Seat Cover Brand
Automotive seat cover brands promise premium protection, but only one delivers unmatched durability, fitment, and value – discover which brand wins.
-
How to Get Mold Out of Car Seat Cover?
Get rid of stubborn car seat mold for good using the exact steps most people skip entirely.